
My husband and I have been staring at this half bath for a few months now, wondering what to do to make it less… boring. Ever since we updated the entryway off the garage, it’s felt even more bland in comparison! This half bath is the only bathroom on the first floor of our house, so it’s the one most commonly used during the day by us, our kids’ friends and any guests we have over. I wanted something welcoming and eye catching, while keeping the current toilet and pedestal sink.
I floated the idea of picture frame molding to create some visual interest, but Derek thought that could turn into a logistical nightmare with all those right angles. I had finally reduced my dreams to a coat of paint and some artwork, when Derek came across an image of an asymmetrical slat wall that he loved! Given his opinion on the picture frame molding idea, I was shocked.
With a little more research, I came across this pin by The Navage Patch, where he gave some details on the materials he used and how he planned. This was our base for the project.

Before
I forgot to take a true before picture, so this already in progress picture will have to suffice. The walls are technically a pale gray/green, the rest is very builder grade.

Paint
We started with paint, going for Tricorn Black from the line HGTV HOME by Sherwin-Williams at Lowe’s. I would call it a soft black, but in our windowless bathroom, we knew it would just appear black. We did NOT remove the toilet or pedestal sink, but opted to paint around it. Since we are keeping these fixtures, we felt the process to remove and reinstall wasn’t worth it.
Here is the room painted. One coat had pretty good coverage, but we did two coats overall.
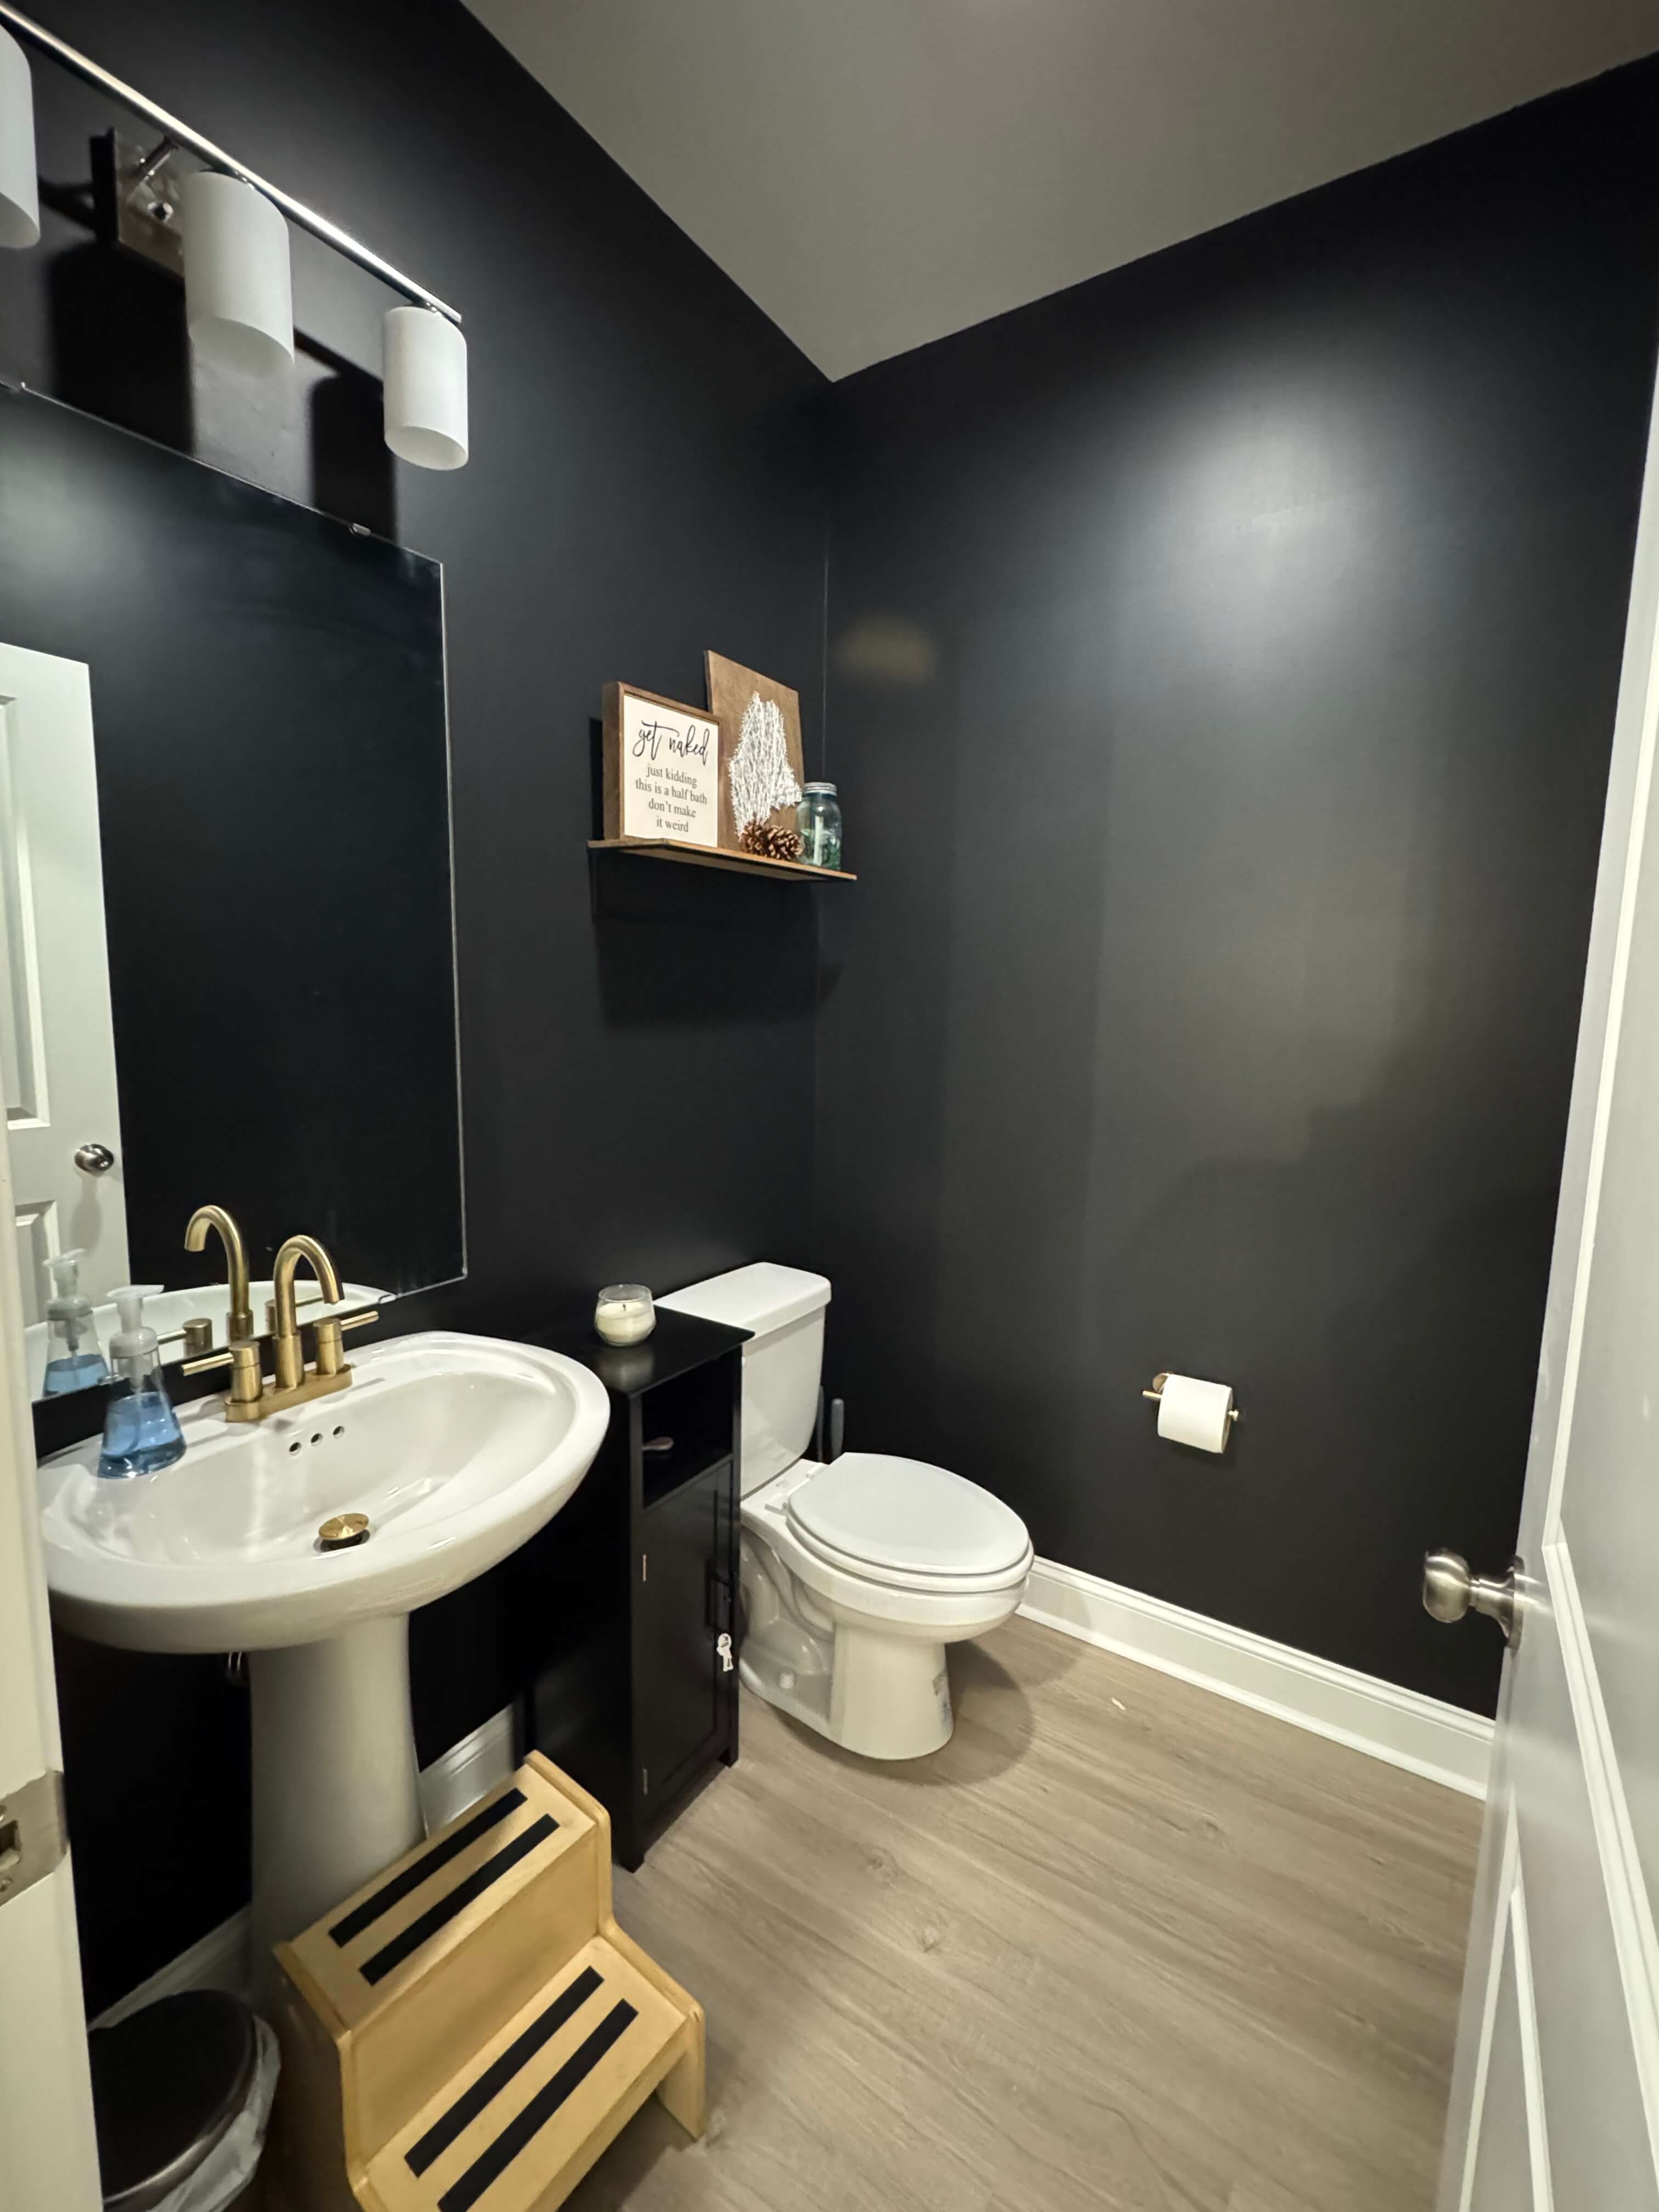
Once it was painted black, we got the unexpected urge for gold fixtures! So we dragged the kids over to Lowe’s again for a gold faucet, towel hook and toilet paper holder. A gold light fixture is also on it’s way.
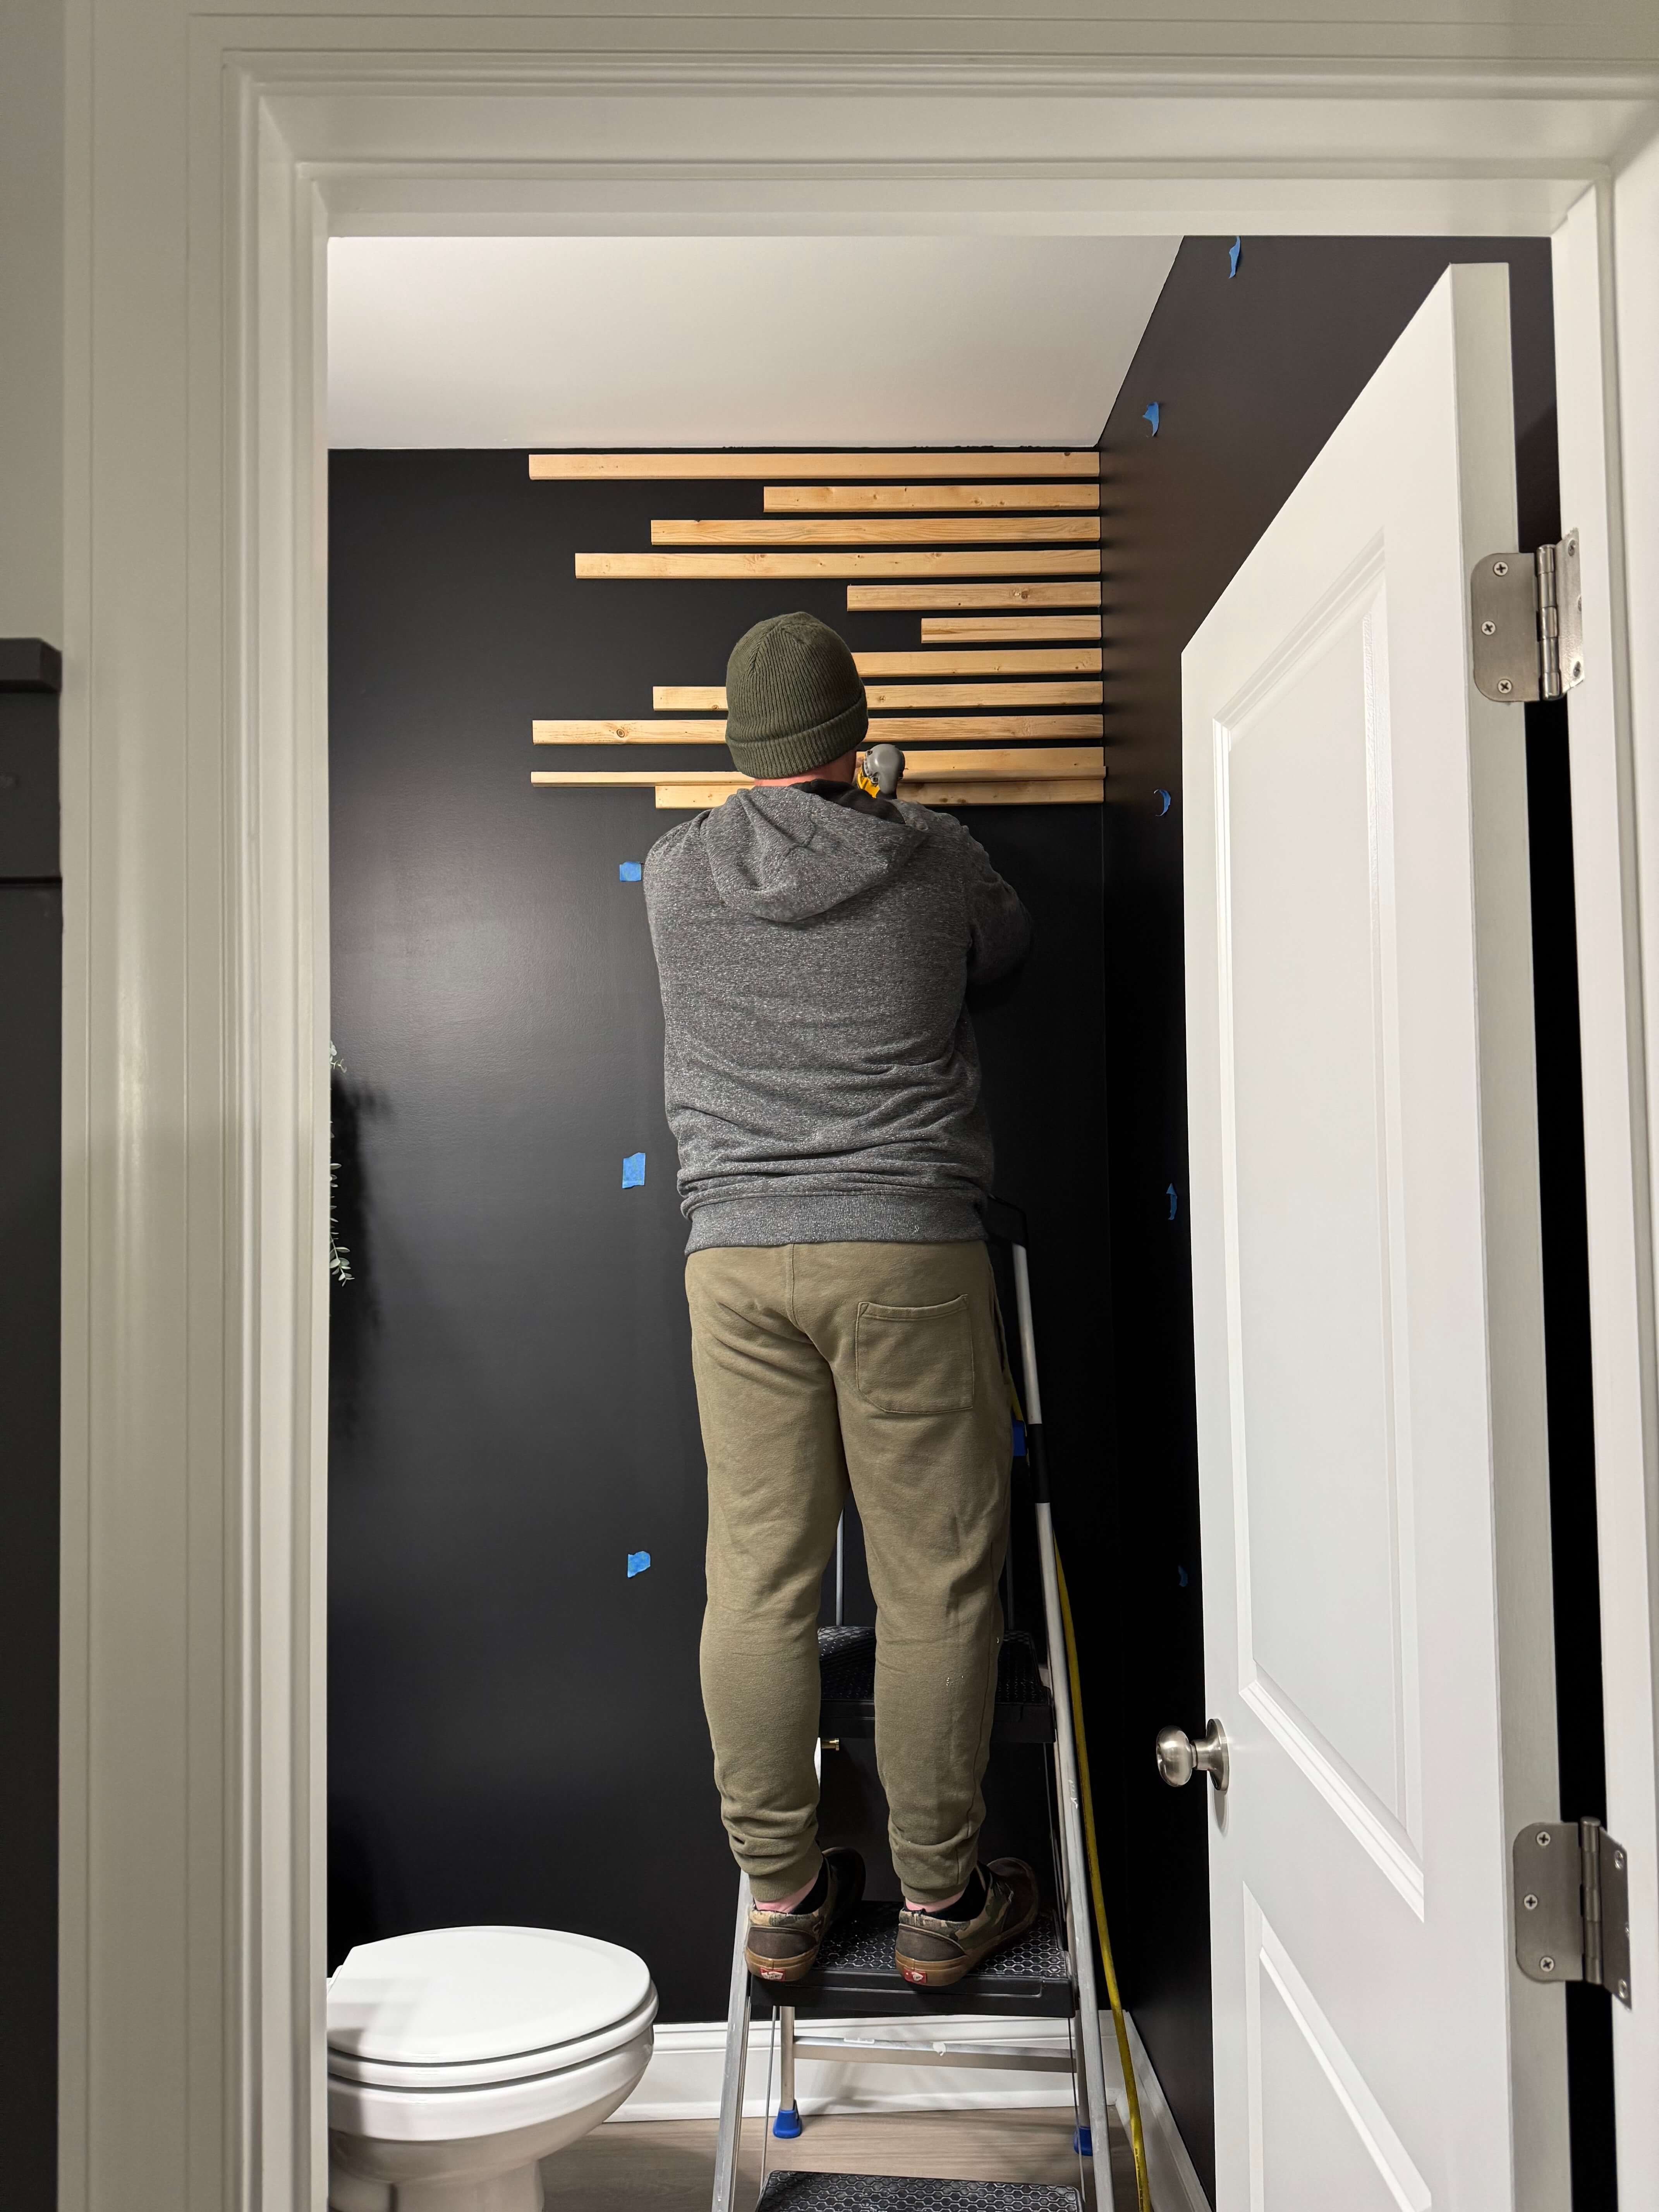
Slats
Then came time for the slats. We purchased four bundles of 1x2x8 furring strips from Lowe’s, just opting for the cheapest option, then checking the bundles to select the best ones we could. We also picked up some Minwax Oil-based Pre-stain Wood Conditioner and Minwax Wood Finish Oil-based Semi-transparent Interior Stain in Ipswitch Pine. We wanted a very light stain!
We liked the length variation and pattern seen in this unknown pin, so we used that for our inspiration on slat lengths and order. We figured out what we wanted our longest and shortest pieces to be, and did some calculations based on that picture to get the rest. Here is what we ended up doing for lengths, in the pattern: A, D, C, B, F, G, D, C, A, E, C, F, G, A, B, E, C, D, H, A, E, C, B, E, H, A, D, B, E, H, B, D, A, E.

Once we had agreed on this, Derek cut all of the pieces, labeled them by their letter A-H, and then we sanded all sides that would be visible, conditioned, and stained. We didn’t bother sanding the side that would be placed against the wall.
For a spacer between the slats, we used a slat turned on it’s side. We started at the top, with a spacer, but if we did it again, I would’ve put the slat against the ceiling to hide that crappy paint job. Hindsight, am I right?
To hold the slats to the walls, we shot nails into the corner stud, then whichever other stud(s) it went over. Some of the shorter ones only crossed one stud on the wall, some crossed two.
We had to made a few small adjustments as we went down the wall:
- We needed to adjust the pattern around the toilet paper holder and made some decisions on the fly.
- We ended up needing to cut additional slats for the bottom of the wall, because we came up short! Our ceilings are 9 feet tall and I was only planning for 8 feet (whoops!)
Once one side was done, we started on the on the other side, so that the slats spread out from one corner.

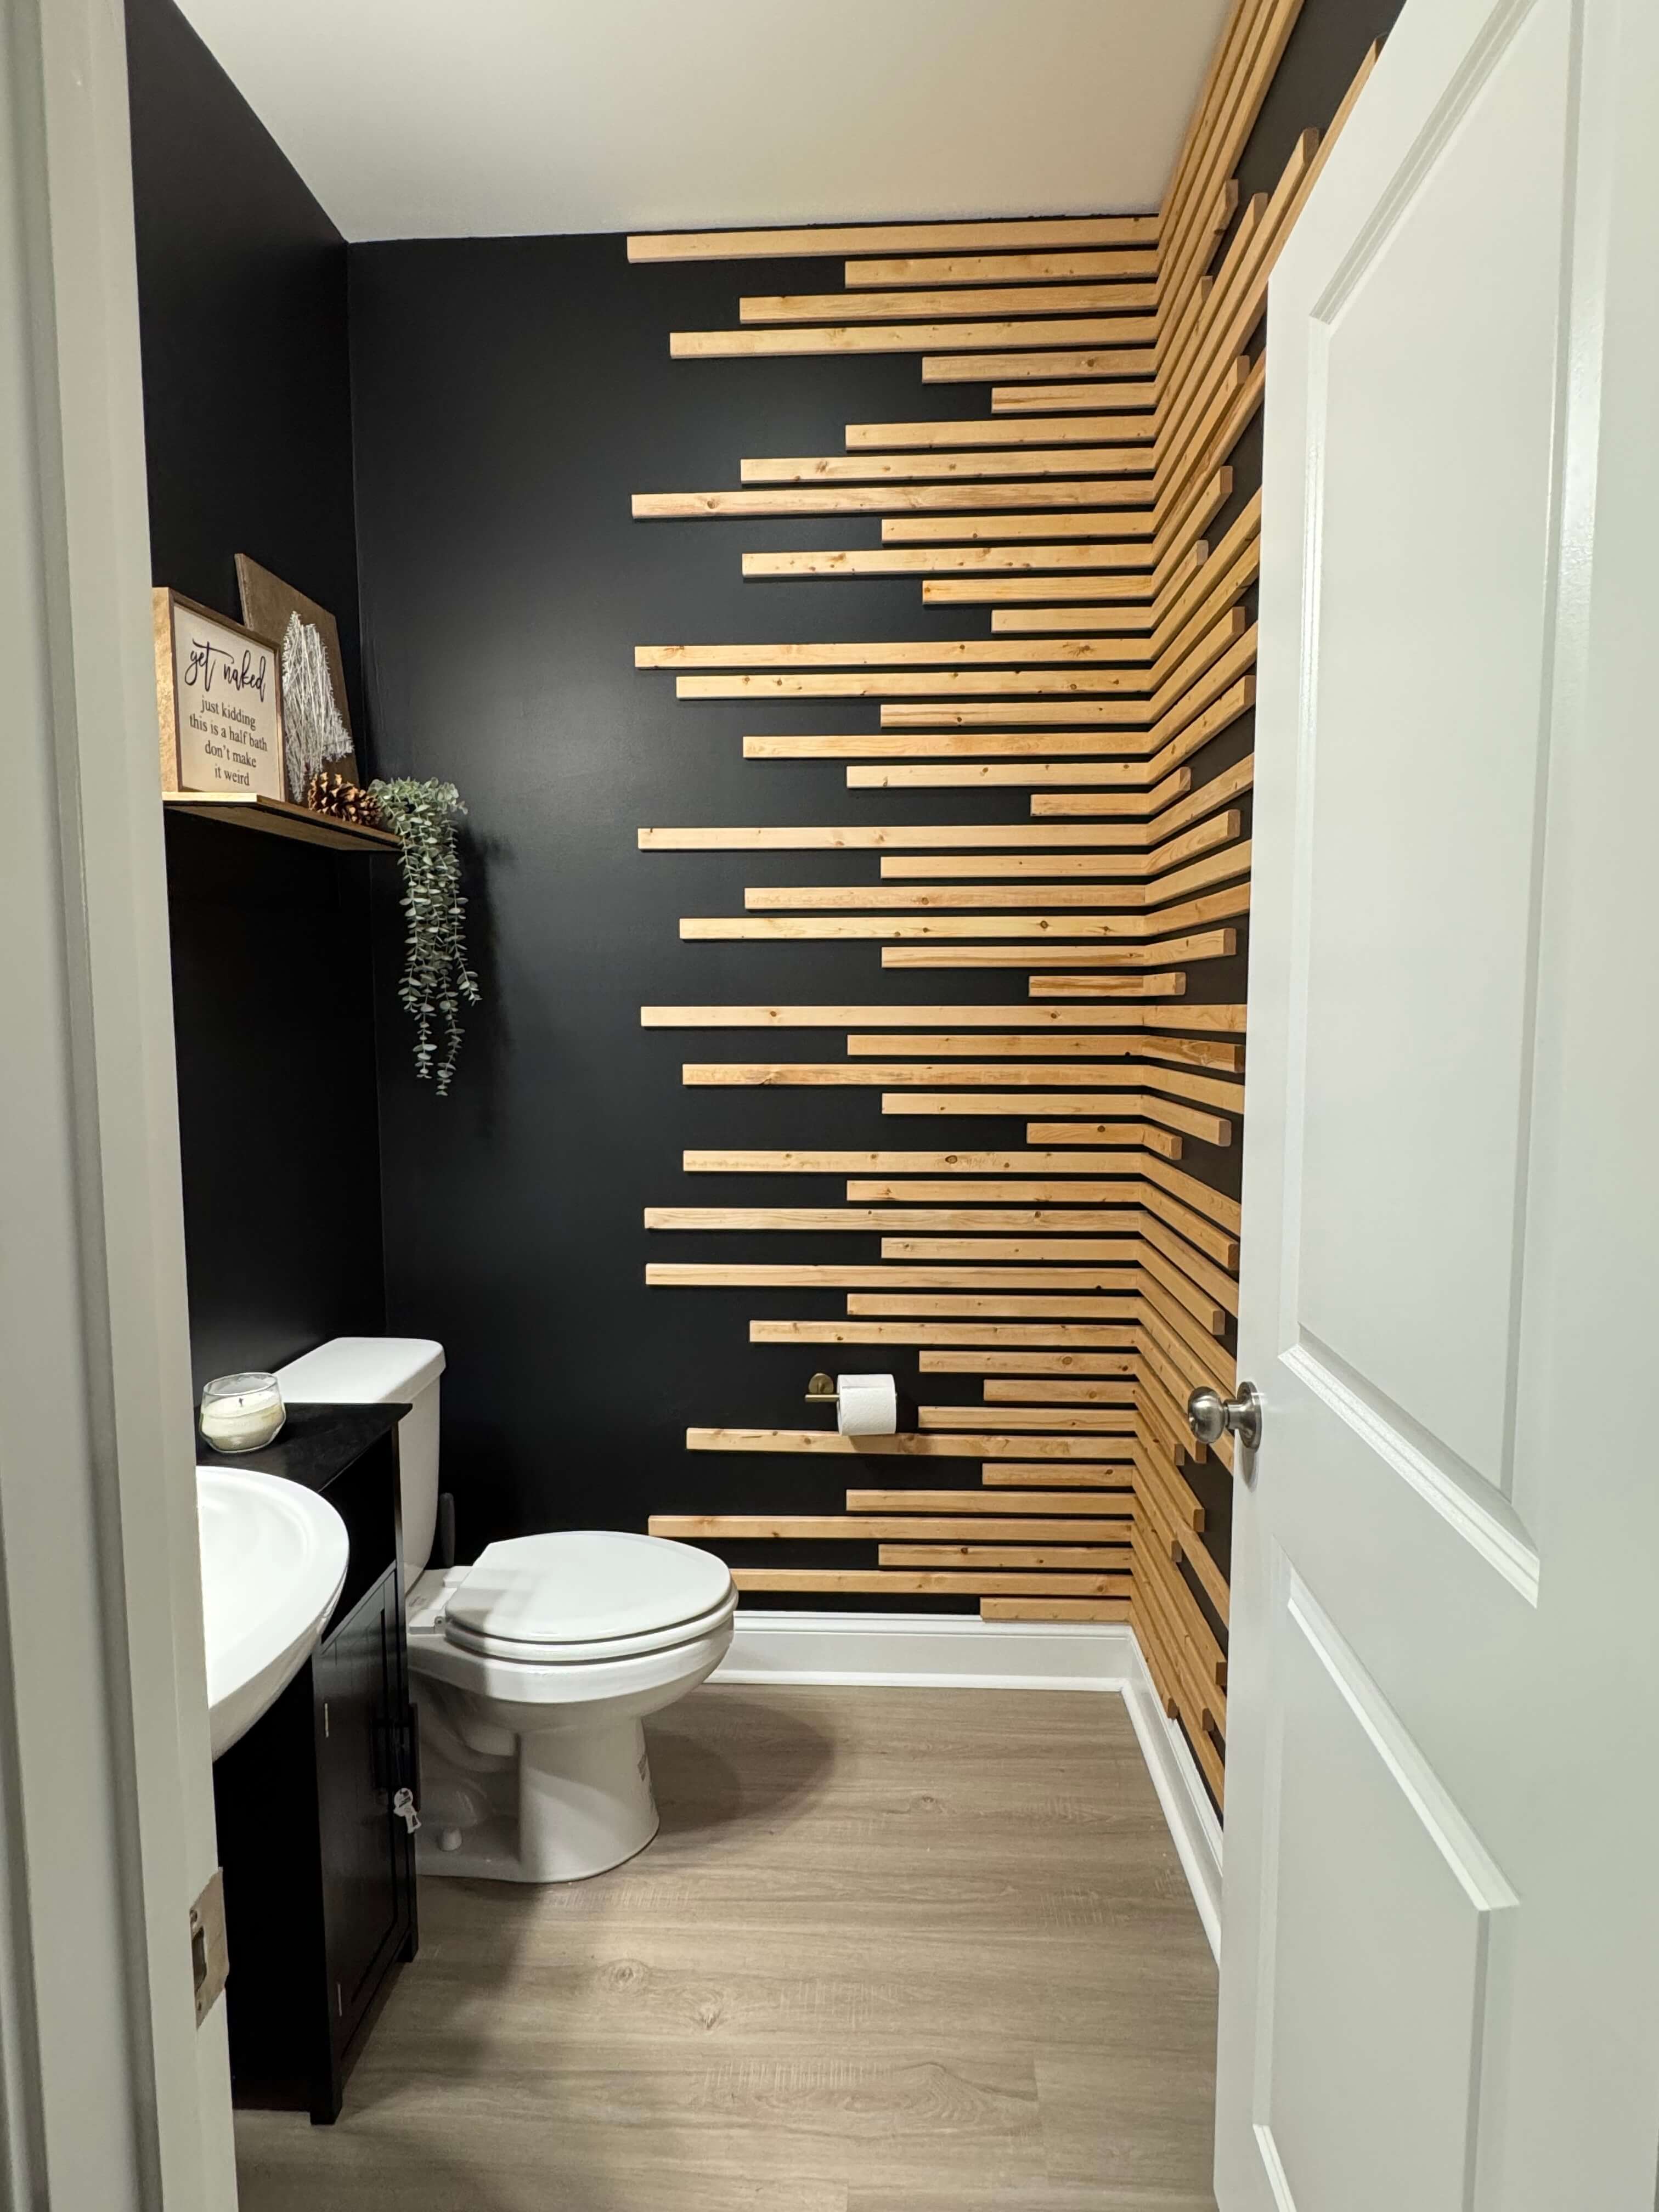
After
Until finally, we have our beautiful, almost complete, half bath. We are still waiting on our new light fixture, are discussing some new decor, and possibly a new mirror, but for now, we’re happy!

Supplies
- Paint: Tricorn Black from the line HGTV HOME by Sherwin-Williams at Lowe’s
- 9 inch paint roller and tray, plus a paint brush for edging
- 27 of the 1x2x8 furring strips (9 foot ceiling)
- Minwax Oil-based Pre-stain Wood Conditioner
- Minwax Wood Finish Oil-based Semi-transparent Interior Stain in Ipswitch Pine
- Dewalt Random Orbit Sander
- Dewalt Brad Nailer
- Miter Saw
- Shelf between toilet and sink
- Fake plant
- Gold Fixtures:
(Note: As an Amazon Associate I earn from qualifying purchases.)
